Wednesday, January 24, 2018

The Ultimate Chocolate Peanut Butter Pie


What's not to love about the classic combination of chocolate and peanut butter?  Here's a doozie of a pie that combines them in the ultimate way!  I developed this recipe for a Valentine's Day contest entry. The only baking time required for this is a quick little pre-bake of the crust.

A recipe for peanut butter chocolate chunk cookies won the contest, not my pie, but my husband says it's a winner as far as he's concerned, so here it is and if you try it, I hope you enjoy it as much as we do!


Ingredients:

Crust:

Non-stick cooking spray

6 chocolate Oreo cookies  

10 Nutter Butter cookies

4 tablespoons butter, melted

Filling:

3/4 cup creamy peanut butter

1 (8 oz.) package cream cheese, softened to room temperature

1 (7 oz.) jar marshmallow crème

1/2 cup powdered sugar

1 (8 oz.) container Cool Whip, thawed

6 Reeses Peanut Butter Cups, cut into quarters

Topping:

1/2 cup dry roasted peanuts, chopped (regular or honey roasted)

Chocolate syrup

 3 Reese's Peanut Butter Cups, whole

Let's make this thing!!!


Using a food processor, combine and process all cookies together into a fine crumb (makes about 2 ¼ cups of crumbs). Pour crumbs into a medium bowl.

Add melted butter and mix with a fork until all crumbs are moistened.

Spray a 9 inch, deep dish pie plate lightly with non-stick cooking spray and press crumb mixture evenly into bottom and sides of it.  Bake at 350 degrees for 7 minutes, remove from oven and allow to cool completely. While cooling, begin making the filling.

Here's the pre-baked crust, ready to fill with the good stuff!!


For the filling, beat the peanut butter, cream cheese, marshmallow crème, and powdered sugar together with a hand or stand mixer until smooth (about 2 minutes), and then add the Cool Whip and beat again until smooth. Scrape sides and bottom of bowl and stir.


 Pour half the filling into the cooled crust, spreading evenly on top with a butter knife or the back of a spoon.


Drizzle with chocolate syrup in a criss-cross fashion over the filling (Ghirardelli is my favorite brand), then cut 6 of the 9 peanut butter cups into quarters as seen below.


Gently press the quartered pieces into the surface of the filling/chocolate until the top of them is even with the top of the filling.  


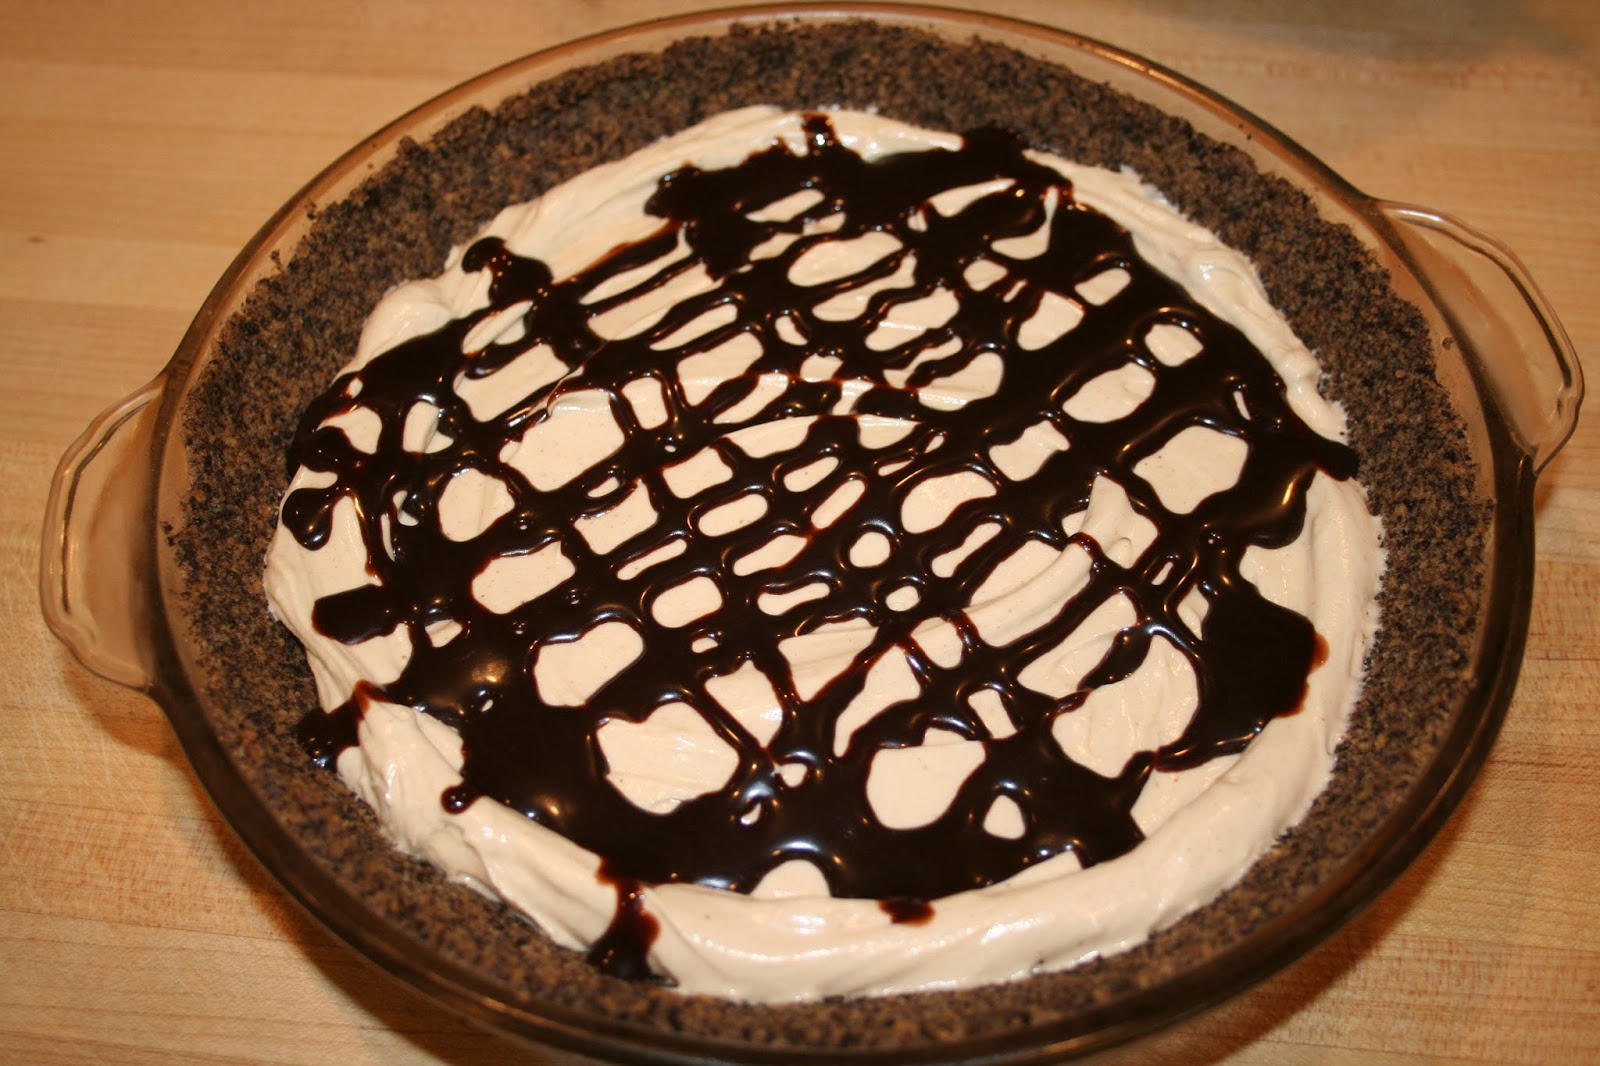
Top with remaining filling and spread evenly again. 


Drizzle more chocolate syrup over second layer of filling as before.


 Put about 1/4 cup roasted peanuts in a zip lock bag and crush them.


Sprinkle the peanuts all the way around the outer edge of the pie, leaving the center with no peanuts, but with the chocolate syrup drizzle showing. 

Place the three remaining peanut butter cups into the center of the pie by turning them sideways and pushing them almost halfway into the pie, in a decorative fashion.


Chill for at least 4 hours before serving.

I'm telling you, if you like chocolate and peanut butter together, and especially if you like Reese's Peanut Butter Cups, you're going to love this pie!  I'm diggin' in!!


Sunday, January 21, 2018

Peanut Butter and Banana Egg Rolls


I came across this delightful concoction at deliciouslittlebites.com and Lauren's pictures there were so utterly devine, I wish I could have just grabbed a warm one right off my screen and eaten it! My picture above doesn't exactly do them justice.

I knew I had to make them.  I've put plenty of things into egg roll wrappers and I have no idea why it never occurred to me to put peanut butter and bananas together in one, but thankfully, Lauren helped me see beyond my own egg roll stuffing insufficiencies.

They're so easy, it's ridiculous!

Here's what you need:

4 egg roll wrappers
2 medium bananas, cut in half
4 tablespoons smooth peanut butter
4 teaspoons honey
1 teaspoon cinnamon
Small bowl of water and a pastry brush
Vegetable oil, about two inches deep in a pot (or use a deep fryer)
Powdered sugar


Directions:

Place 4 egg roll wrappers on a flat work surface with a point facing you.

Spread 1 tablespoon of peanut butter across the center of each one, but keep it about an inch away from the edges all the way around.

Put half of a banana in the center, left to right - not up and down, over the peanut butter.

Drizzle the bananas with a teaspoon of honey.

Sprinkle cinnamon over the honey.

Brush the edges of the wrapper all the way around with water, using the pastry brush, to moisten.

Fold the bottom corner, nearest you, up over the filling, then fold the left and right sides in.

Roll and seal the top corner.

Heat oil to 350 degrees, add egg rolls and fry for about 2 minutes, until golden brown.  You can use a deep fryer if you have one.  Using tongs, turn the egg rolls if necessary to allow for even browning on each side.

Allow to drain on paper towels and sprinkle with powdered sugar.

Serve warm.


For a good visual on how to wrap properly, head over to Lauren's site.  She has some great pictures on how to do it.  https://deliciouslittlebites.com/banana-egg-rolls/ 

These things are good, and I can already see some made with Nutella instead of peanut butter in my future...


Tuesday, January 16, 2018

Lasagna Soup


It's below freezing right now, and I'm not venturing out!  Instead, I'm trying a new soup that sounds really good on a day like this.

I looked at multiple recipes online and ultimately, I decided not to go with any of them and to develop my own, since so many of them had ingredients I wouldn't want in mine... like English peas.  No!  Not for me, so here's what I came up with, and it's so good!

Ingredients

1 pound lean ground beef
1 envelope Lipton Beefy Onion Soup Mix
1 (32 oz.) jar Classico Tomato and Basil spaghetti sauce (don't throw the jar and lid away!)
1 (14.5 oz.) can fire roasted diced tomatoes

3 cups water (divided use)
3 dashes Worcestershire sauce
1 teaspoon garlic powder
1 teaspoon Italian Seasoning
1 tablespoon sugar
8 to10 lasagna noodles, broken into pieces
1 (14.5 oz.) can reduced sodium beef broth (optional, depending on how thick you want your soup)
Salt and black pepper
Grated parmesan cheese
Grated mozzarella cheese
Optional:  Ricotta cheese


Directions


Begin by browning the ground beef well, seasoning it with salt, until you have brown bits sticking to the bottom of the pan.  Drain the meat if necessary, and set aside.


Add 1 and 1/2 cups of the water and the beefy onion soup mix to the pan you cooked the meat in over medium high heat and deglaze the pan, scraping the bottom and sides well.  Allow to come to a boil.


 Lower the heat to a simmer and stir in the fire roasted tomatoes and spaghetti sauce.


Add the worcestershire sauce, garlic powder, Italian seasoning, salt & pepper, sugar, and stir to mix well.

Bring to a strong simmer and add broken noodles.


  Add the remaining 1 1/2 cups of water to the spaghetti sauce jar, put the lid on and shake it, then pour it into the soup, stir in.


Allow to simmer until the noodles are almost tender, stirring frequently, then add the beef back to the pot.  Add the can of beef broth now if you want you soup to be thinner.  You can omit the broth, but I found that after the noodles cooked and absorbed some of the liquids, I needed to add it.


At this point, after tasting the soup, I found that it needed more salt, so I suggest you taste and add salt if necessary.  Continue to simmer until the noodles are cooked to your preference.

Once you serve it up into bowls, put a little dollop of ricotta cheese in the center (optional!) and push it down into the hot soup, then sprinkle with  a little grated parmesan and then mozzarella.

You can add as many broken noodles as you want, just keep in mind they absorb liquid, which will have to be replaced with broth.  I don't recommend using more water than what the recipe calls for because I think it would dilute the flavors too much.  Beef broth would be better.

You can also use any brand or type of spaghetti sauce you like, just make sure it's 32 ounces.  The Classico is what I had on hand, so it's what I used.


Melty, stringy mozzarella!


Monday, January 15, 2018

English Muffins


I love a good toasted English muffin in the morning with my coffee! We go through lots of them, and I've been wanting to make some from scratch for a while, so today was the day.  

Here's the recipe, which I found online, but I felt the need to alter it a bit because I didn't agree with a few of the methods, so this is my version.  

Ingredients:

6 cups all-purpose flour
2 tablespoons sugar
1 1/2 packets instant rapid-rise yeast
1 egg
1/2 teaspoon salt
1 cup whole milk
1 cup warm water (110 - 112 degrees)
3 tablespoons butter, melted and cooled
corn meal

Note about measuring the flour:  You don't need to sift it, but you do need to "fluff" it in it's original container before measuring it out or you will end up with heavy muffins due to an excess of flour.  Flour compacts when stored, so before you measure each cup or half cup out, fill the measuring cup and pour it back into the container 3 times, then gently fill the measuring cup and skim the excess off with a finger or the straight edge of a butter knife.  Never press it down into the measuring cup.  This will eliminate the "too much flour" problem.

Instructions:

Add the yeast and sugar to the warm water and set aside for about 5 minutes to allow the yeast to proof.  Ideally, get the water to 110 to 112 degrees and no hotter.  Use a thermometer to check the temperature of the water if you are unsure.  If it's not hot enough or if it's too hot, you will not get a good foam over the top of the yeast/sugar mixture and will have to repeat the process again.  If the foamy layer doesn't happen over the yeast/sugar mixture, your muffins will be an epic fail!

The foam layer will develop over the 5 minute waiting period.  It hasn't happened yet in this picture!


While the yeast is proofing, warm the milk in a medium bowl in the microwave for about 20 seconds at full power.  Add cooled, melted butter and the egg to the milk and whisk well.  Set aside.

Into a large mixing bowl, add 3 of the 6 cups of flour and the salt and whisk together.  Pour milk mixture and yeast mixture in and stir with a sturdy wooden spoon until smooth.  It doesn't have to be completely smooth, but all the flour needs to be well moistened and the liquid ingredients should be well mixed in.

Add 1/2 cup of flour at a time to the bowl, mixing in well, until all of the remaining 3 cups of flour are added in.  After about the 4th measure of flour I add, I just begin using my hands to mix it into the dough. It's much easier.

Sprinkle some flour onto the work surface and knead the dough for about 8 minutes. 

Here's how it looks after kneading, ready for the first rise.


Ready to cover loosely and allow to rise.


Lightly oil a large bowl by using a pastry brush to apply the oil in the bottom and up the sides.  Place the dough into the bowl, then flip it over.  If you see no oil on the top of the dough, lightly brush it with some.  Cover the dough loosely with plastic wrap, place it in the warmest draft-free spot in your kitchen, and allow it to rise for an hour or until it doubles in size.


Line 2 large baking sheets with parchment paper and sprinkle with yellow corn meal.  


Once the dough has doubled in size, dump it onto the work surface and shape it into a rectangle.  Cut the rectangle into 16 equal (or almost equal) pieces.  It doesn't matter if a few are larger or smaller, it just means the muffins won't all be exactly the same size.  Mine were not all the same size!  I had a few larger ones.


Gently pat each piece of dough into a ball and then using your hands, press it into about  a 3 inch round shape. 


Place each one onto the parchment paper as you go.  Continue until all of them are done.  Don't let them touch each other on the baking sheet.  

Sprinkle the tops of them with corn meal.

Cover them loosely with plastic wrap and allow to rise, as before, but only for 30 minutes this time.


Heat a griddle  to medium heat and lightly oil it by pouring a tablespoon of vegetable or olive oil onto it and spreading it to coat the entire surface with a folded paper towel, taking care not to burn your fingers!

Preheat oven to 350 degrees.

After the second rise, ready to cook


Don't shake or brush off any of the corn meal from the muffins.Carefully lift the muffins and place them onto the griddle and cook until the bottom is nicely browned, then gently turn them and do the same for the other side.  Some of the corn meal will remain on the griddle, just let it stay there during the entire process until you are finished cooking all of the muffins.  It shouldn't burn - if you see smoking or burning, slightly lower the heat, the griddle is too hot!  It took mine about 7 minutes on each side, but electric griddles vary, so just watch them and when browned as pictured below, turn them.


They will puff up a bit more as they cook on the griddle.


Ready for the oven


As you take them off the griddle, put them back on the baking sheet.  

Bake for about 12 minutes, until they sound hollow when tapped.  


Remove to a wire rack to cool completely before storing.  


Notes:

I used an electric griddle to cook the muffins on, but you can use a griddle that sits over your stove top burners or you can use a large cast iron skillet, it will just take longer to get them all cooked if using a skillet.  

To store my muffins, I put a paper towel into a gallon sized zip top bag (just to absorb any moisture) and refrigerate them.  This makes 16 muffins, so you may need multiple bags, depending on how many you eat prior to storing them.  


I always split my muffins and toast them before spreading them with butter and jam. 

These muffins are good.  The texture is a little different than the Thomas brand I get from the store, and there aren't as many "nooks and crannies", but I really like the freshness and the flavor!  I will make these often, I think!


Saturday, January 13, 2018

Meatball Pizza Dippers


Sometimes on weekends, I just want something casual! Today, as I was checking the freezer to see what I could come up with, I spotted a bag of fully cooked Italian meatballs and grabbed it.  Time to hatch an idea that would turn them into something good.  I decided to attempt dipping sticks.  I had no idea if this would actually work out as I had it envisioned in my head, but I was willing to give it a shot.  

Here's how to do it:


Take 32 meatballs out of the bag and defrost them at 40% power for 4 minutes in the microwave.  I just divided them in half and put them on two paper plates and microwaved each plate for the 4 minutes.  That way, while the second plate was defrosting, I was getting into the next step with the first plate. I got 36 meatballs out, not sure how many I would actually need, and that was 4 too many, so my husband gladly devoured the extras... no wasting perfectly good food around here!!


In a medium bowl, combine:

4 dashes Worcestershire sauce
1/2 cup marinara sauce
2 tablespoons hickory smoked barbeque sauce

Stir together well, then dump the first plate of thawed meatballs into it and move them around in the bowl until they're all well coated.


Put the coated meatballs onto a baking sheet after applying a light coating of non-stick cooking spray  and repeat the process with the second batch of meatballs.

With the oven preheated to 350 degrees, bake the meatballs for 18 minutes and then remove them.  Raise the oven temperature to 415 degrees, and proceed to the next step, leaving the meatballs on the baking sheet to cool slightly.  


Line another baking dish with parchment paper and use the non-stick spray again, lightly coating the paper.


Now, for the fun part.... take a refrigerated thin crust pizza dough out of the package and gently stretch it on all sides to even the edges up.  I did this right on the surface of my cutting board - it never sticks to the board.  


Using a pizza cutter, cut the dough as shown, in half, then quarter it, then cut it into strips, making eight equally sized pieces.


Spread the dough with a spoonful of ready-made marinara sauce and top the sauce with a little grated cheese.


Put 4 meatballs in the center of each portion of dough and wrap them up in the following way:

First, fold the ends in over the meatballs.


Then gently stretch the back flap towards you over the top of the meatballs.


Finally, stretch the front flap over the top, away from you and gently press down.


As you roll them, place them on the parchment paper, seam side down and bake for 10 minutes.

After ten minutes, remove them from the oven, raise the oven temperature to 425, and lightly brush them with olive oil, then sprinkle them lightly with coarse salt, and return them to the oven for an additional  10 minutes.


They will look like this when you return them to the oven.  Ovens vary, so bake them until they are nicely browned on the bottom as shown below.  If you don't do this, they probably wouldn't hold up when you dip them later.


I'm using the remaining marinara sauce with a little Worcestershire sauce stirred in, heated in the microwave, for dipping sauce.


The end result was a tasty and satisfying meal.  I didn't serve anything else with these, and we didn't quite polish them all off.  I have a feeling somebody around my house will grab what's left and munch on them a little later in the evening and I won't need to worry about what to do with left-overs.
I'd be willing to make these again and will probably experiment with additional ingredients.  We enjoyed them!