Sunday, August 16, 2020

Strawberry Cheesecake Ice Cream

I came across this great recipe by Holly Lofthouse, at Life in the Lofthouse.  You can find lots of great recipes there, along with a video of how to make this ice cream, which requires no cooking, no churning, and no ice cream machine! Holly is a mother, wife, and friend that loves to create easy and delicious recipes, and I'm so glad she's willing to share them!

Here's her recipe for this awesome ice cream, and if you'd like to watch her video, here's the link to that: https://life-in-the-lofthouse.com/easy-strawberry-cheesecake-ice-cream-no-machine-required/?jwsource=cl

Photo Courtesy of Holly Lofthouse
Image courtesy of Holly Lofthouse


Strawberry Cheesecake Ice Cream

A delicious strawberry cheesecake ice cream. So easy and no ice cream machine required!

 Prep Time 6 hours

 Total Time 6 hours

 Author Holly      https://life-in-the-lofthouse.com/   

Ingredients

  • 1 14 ounce can sweetened condensed milk
  • 1 8 ounce tub Cool Whip
  • 1 8 ounce block cream cheese, softened
  • 1/4 cup butter softened
  • 1 Tablespoon lemon juice
  • 1 teaspoon vanilla extract
  • 15 Golden Oreo cookies about half the package
  • 1/4 cup butter softened
  • 1 21 ounce can strawberry pie filling (I used Duncan Hines)

Instructions

1.         In a large bowl, add the sweetened condensed milk, cool whip, cream cheese, 1/4 cup butter, lemon juice and vanilla extract. With a hand mixer, beat on medium speed until smooth. Set aside.

2.         In a food processor (or you can use a large ziplock bag and rolling pin) add the Golden Oreos and 1/4 cup butter. Combine and crush together until crumbly.

3.         Dump the Oreo crumbs into the center of the batter, then pour the can of Strawberry pie filling over the Oreo crumbs. Using a large rubber spatula, gently fold the filling and crumbs into the ice cream batter. *Only fold 2 or 3 times. You want swirls in the ice cream, so don’t over mix. Pour mixture into a standard loaf pan and cover tightly with saran wrap.

4.         Freeze at least 6 hours or overnight. Then serve and enjoy! ♥

© Life In The Lofthouse

Printed with permission from Holly Lofthouse.

I've already got multiple variations floating around in my head!  I'm going to get creative and see what I can substitute the Oreo cookies and strawberry pie filling with.  Looks like it's a very versatile recipe!

I love how easy this is to do.  Thanks, Holly!!!

Wednesday, August 12, 2020

Energy Bars


Dry Ingredients

3         Quaker Instant Oatmeal packets, any flavor

1/3      cup Craisins, processed into smaller pieces

1/2      cup roasted, salted almonds, smashed into smaller pieces

1/2      cup mini semi-sweet chocolate chips

1         cup Kashi Go Honey Almond Flax Crunch cereal, clumps broken up

1/4      cup granulated white sugar

1         tablespoon dark brown sugar, packed

1         tablespoon cinnamon

1/2      teaspoon salt


Combine all dry ingredients in a large bowl and mix together well.


Wet Ingredients

3              tablespoons Mrs. Butterworth’s or other syrup

1 ½          tablespoons honey

1              tablespoon vanilla


Combine wet ingredients in a small bowl, stir together and add to dry ingredients.

Stir together well until all dry ingredients are evenly moistened.

Spray the bottom of a spatula with butter flavored non-stick spray.

Spoon mixture into a 13 by 9 inch rimmed sheet pan coated with butter flavored non-stick spray and press surface tightly and evenly, smoothing surface.  Alternately, spoon mixture into the wells of a silicone bar making pan and press firmly to pack tightly.


Bake at 350 degrees for 15 minutes or until lightly browned on top.

If using silicone bar maker, remove from oven and allow to cool in pan for 10 minutes before placing bars on wire rack to cool completely. Makes 12 bars.

If using sheet pan, use a sharp serrated knife to cut into desired shape/size while still warm from oven.


Notes:

  • Pampered Chef sells this silicone snack bar maker set which is perfect for making these bars.
  • Break up the cereal clumps by placing into a zip lock bag and smashing. 
  • You can break the almonds into smaller pieces using the same method.


Monday, July 20, 2020

Cowpoke Casserole


This is a ramped up cowboy version of Shepherd's Pie! 
I found this recipe on Pinterest a good while back, and I don't remember who to give the credit to, but this version has been altered by me and is not exactly like the one I found.

Here's how I decided to make it:

Ingredients
One package Idahoan Smoky Cheddar and Bacon mashed potatoes, prepared per package directions
8 strips bacon, cooked, use strips OR crumbled (cook it in the microwave for good crispiness)
1 Tablespoon cooking oil
1 (10 oz.) package frozen chopped onions (or a drained can of fire roasted corn) (or both!)
Garlic powder, to taste
Salt and pepper, to taste
1 lb. lean ground beef
1 15 oz. can fire roasted Rotel tomatoes, drained
2 Tablespoons chili powder
1/2 cup salsa of your choice
1 cup Mexican blend shredded cheese


Directions
Prepare potatoes per package directions. Set aside.
Preheat oven to 375°.
In a 10 inch cast iron skillet, heat oil over medium-high heat and add onions. 
Caramelize the onions, then add beef to skillet and cook until browned. 
Drain off fat. 
If using corn instead of onions, cook beef, drain, return to pan, add corn and mix well.
Add tomatoes, chili powder, salsa, salt, pepper, and garlic powder and mix well.

     
Spread potatoes evenly over the surface of the meat mixture.


Sprinkle with cheese and bake for 15 minutes, remove from oven and lattice the bacon strips   
on top, or sprinkle crumbled bacon. 


Return to oven for additional  10 to 15 minutes, until thoroughly hot.

Dig in!!


Sunday, July 5, 2020

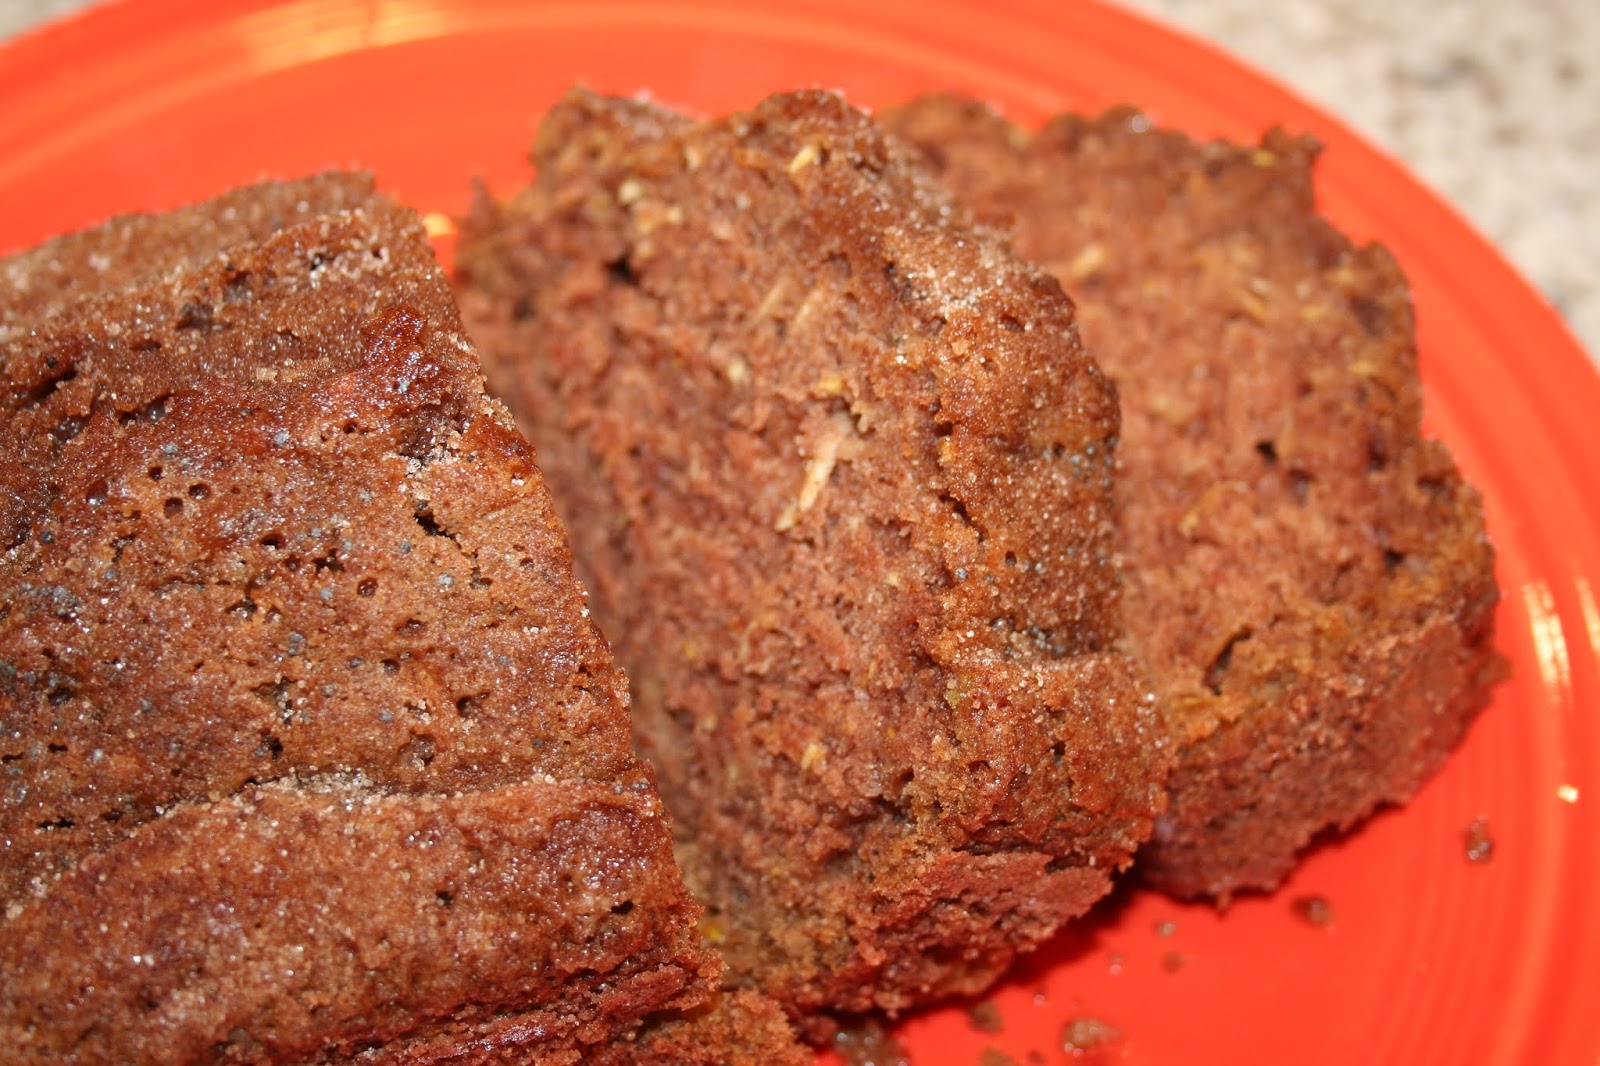
Sweet Summer Squash Quick Bread


Since I have an abundance of summer squash right now, I decided it was the perfect time to make a quick bread with it.  Zucchini and summer squash are interchangeable in quick bread recipes, so if you have a great zucchini bread recipe you like, try it with summer squash, or give this version a try next time you have some extra summer squash on hand.  This recipe makes 2 standard sized loaves.

Ingredients

Pan Coat:
Butter flavored non-stick spray
1/2 cup granulated sugar
1 teaspoon cinnamon
*Pour leftover sugar/cinnamon mixture into a small container, you will use it later*

Dry:
3 cups all-purpose flour
2 cups granulated sugar
1 teaspoon salt
1 teaspoon baking soda
1/4 teaspoon baking powder
2 teaspoons cinnamon
1 teaspoon pumpkin pie spice
1/4 teaspoon ground ginger

Wet:
1 cup vegetable oil
3 eggs
2 teaspoons vanilla
1/2 cup water or orange juice

Also:
2 cups grated yellow squash (peel and remove seeds before grating)
1 teaspoon poppy seeds (optional)
1 cup chopped walnuts or pecans (optional)


Directions

Peel the squash and scrape the seeds out of the center.  Grate squash, set aside.
Preheat the oven to 350 degrees.


Spray 2 loaf pans generously with non-stick spray.  Combine the pan coat sugar and cinnamon amounts together, stir to mix well, coat sprayed pans and set aside.


Combine all the dry ingredients and whisk together well.


Combine all the wet ingredients in a separate bowl, mix together, pour into dry ingredients.
Mix with a spoon, no electric mixer necessary. 
Add grated squash and nuts if using, stir in.


Place half of batter into each prepared loaf pan. 
Sprinkle poppy seeds on top of each loaf if using and run the tines of a dinner fork lightly across the surface to "plant" the seeds into the batter.


Bake for about 50 minutes to an hour.  Use a cake tester or toothpick inserted into the center to check for doneness. It should come out clean. 
Remove from oven and run a thin bladed knife all the way around the edge to loosen from pans. Allow to cool in the pans for 10 minutes before removing to a wire rack to cool completely. 
While still warm, brush the tops with melted butter and sprinkle the left over pan coat mixture over the top of each loaf. 


This quick bread is even better with a little (or more than a little... that's up to you 😉) butter spread on top and warmed in the microwave.  Every single time I do that, it conspires with my coffee and makes me happier somehow.  They get along very well together!

Friday, July 3, 2020

Chocolate Kahlua and Toffee Cheesecake

Where's my fork when I need it most?  My brain hatched a brand spankin' new cheesecake recipe today!


Here's how to make it:

Ingredients

Crust
2 cups graham cracker crumbs
5 ginger snaps, crushed to crumbs
½ cup sugar
1 stick butter, melted
* crust mixture has divided use*

Cheesecake batter
3 (8 oz.) blocks cream cheese, softened to room temperature
1 ½ cups granulated sugar
3 tablespoons cocoa powder
1 cup sour cream
1 ½ tablespoons Kahlua
3 large eggs
½ cup Heath milk chocolate toffee bits

Topping
Reserved ½ cup crust crumbs
Caramel sauce (Ghirardelli brand is really good)
¼ cup toffee bits

Directions:

Preheat oven to 325 degrees.
Generously spray a 10 inch springform pan with butter flavored non-stick spray.

Combine all crust ingredients in a medium bowl, mix together well with a fork until all crumbs are moistened.  Pour crust mixture into center of pan, spreading into an even layer to cover the bottom completely, not pressing down.  Use a flat-bottomed measuring cup or small drinking glass to press the crust, starting in the center and working outward and up the side about an inch all the way around.  Bake at 325 degrees for 5 minutes only, remove from oven and allow to cool while preparing batter.


In a large mixing bowl, combine cream cheese and sugar.  Beat on high speed with electric mixer until smooth.


 In a separate bowl, combine sour cream, Kahlua, and cocoa powder and mix well.  Add sour cream mixture to cream cheese mixture and beat until well incorporated and smooth. 


Add 3 beaten eggs, beat on medium speed until well incorporated. 
Add toffee bits and stir into batter until evenly distributed. 


Pour batter into crust, spreading evenly with the back of a spoon so that batter touches the sides of the pan all the way around.  Swivel pan gently back and forth on countertop to allow air bubbles to rise to the top.  Pop them with a toothpick. 


Place in water bath as shown below. I find this the easiest way to keep moisture away from the bottom of the springform pan. No need to mess with wrapping it in foil!  

To make a water bath, first place springform pan into a larger round baking dish.


Then sit it into an even larger rimmed pan and add about 3/4 of an inch of hot water to the outer pan after you put it in the oven.
Bake for 50 minutes to an hour, or until the center jiggles slightly.

Turn oven off and crack door open slightly, allow to cool in oven for 30 minutes.  Remove from oven and gently run thin knife blade all the way around edge to release from side of pan.  Let cool to room temperature on a wire rack.  Remove ring from pan.

Drizzle caramel sauce over top.  Combine reserved crust crumbs and toffee bits in a small bowl.  Sprinkle around outer edge all the way around and place some in center. 

Refrigerate at least 6 hours or overnight before serving.


Sunday, June 7, 2020

Cast Iron Skillet Glorified Peach Dump Cake

What a name... but it's the best description!  It's quite tasty and pretty quick and easy to make.
Here's how to make it happen!


Ingredients:

1 can peach pie filling

½ cup dark or light brown sugar

1 teaspoon cinnamon

1 yellow cake mix

1 stick butter, softened  (regular butter, not unsalted)


Plus:

¼ cup granulated white sugar

½ teaspoon cinnamon

8 Additional thin pats of softened butter


Directions:
Preheat oven to 350 degrees.
Spray a 10 inch cast iron skillet with butter flavored non-stick spray.
Pour  Dump peach pie filling into skillet and spread into an even layer.


Combine the brown sugar and 1 teaspoon of cinnamon, mix well, and sprinkle evenly over pie filling.


Pour Dump cake mix into a large mixing bowl and add the stick of softened butter.  Using your hands, mix the butter into the cake mix until crumbly and evenly moistened. 
Use a spoon or your hands to sprinkle the “butterfied” ( I got a citation from the Word Police for that…) cake mix evenly over the peach layer.


Combine the ¼ cup white sugar and ½ teaspoon cinnamon, mix well, and sprinkle over the top of the cake mix layer.

Dot the 8 additional thin pats of softened butter onto the top in a random way.
Bake for about 45 minutes.  The top should be browned and the center should not be sunken.


Remove from oven and allow to cool until it reaches a temperature that won’t burn your mouth and dig in!!


Note:
I know you already know this, but….if you put a scoop of vanilla, or Bluebell Peaches and Vanilla ice cream over the top of this stuff while it’s still warm, it may increase your level of sheer happiness.  It worked for me!!

Another Note:
Next, I’m using a strawberry pie filling with additional fresh strawberries mixed in.  I’m skipping the brown sugar/cinnamon layer, and I’m adding about ¼ cup of fresh strawberry puree to strawberry cake mix along with the butter.  I’ll sprinkle the top with a little white sugar. 

Final Note:
I forgot to mention… I added 2 chopped up fresh peaches into the pie filling layer, just because I happened to have them.  I’m sure it upped the level of peachiness, (no citation issued for that word). How could it not?

Last Final Note:
The cake mix layer over the peaches becomes a delightful crunchy layer of cinnamon/butter goodness on top.  It's not exactly like a cobbler, a buckle, a brown betty, or even a crisp but what ever it is, it's good!  I guess "Dump Cake" is what it is, but I'm not wild about calling it that....somehow, the words "Dump" and "Cake" just don't belong together to me.  😮
A cast iron skillet is the best choice for baking this in, but I guess you can use just about any pan or baking dish you want.  It fits perfectly in a 10 inch cast iron skillet.


Saturday, January 11, 2020

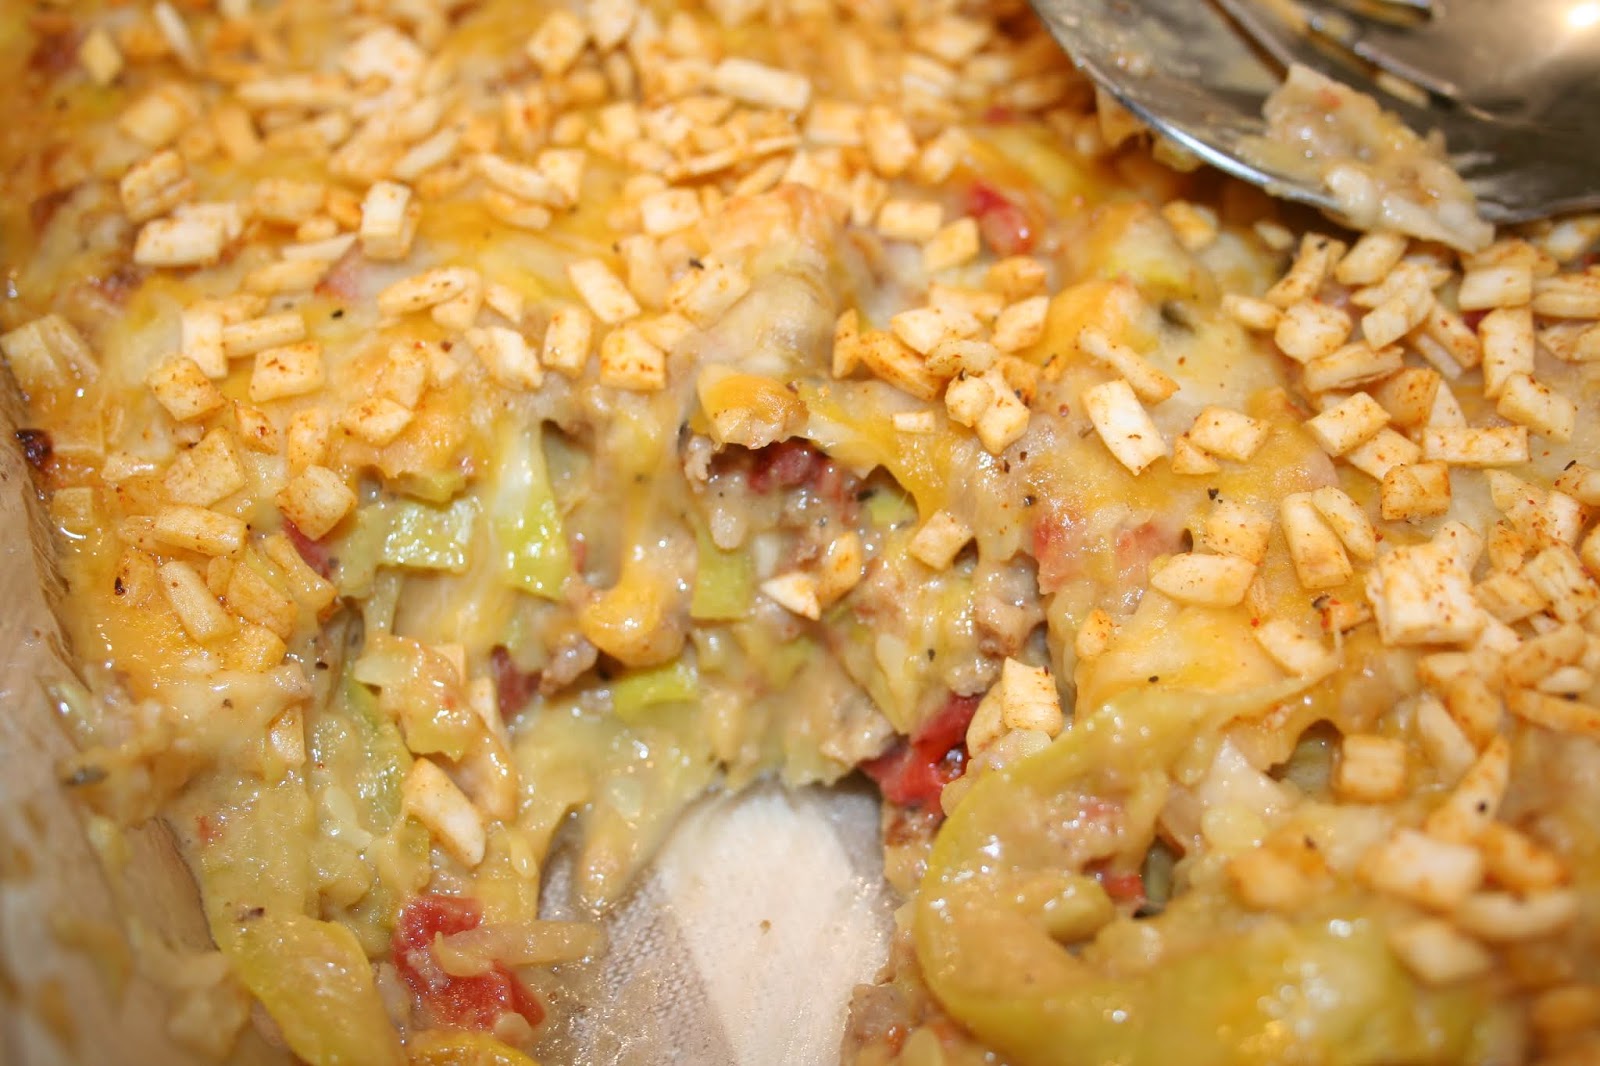
Hearty Squash & Sausage Casserole


If you love yellow squash, you may want to try this!  I came up with this concoction during one of my "raid the fridge and pantry for some kind of miracle dinner solution" moments.  There's been a time or two, not many, that the aforementioned moments resulted in not-so-great results, but this one's a keeper for me.  I really like it.  I chose to go with lower carb options when it came to a few things, and I'll point those out and offer up what I would have done instead, which, I admit, would taste EVEN better....


I started out by cooking fresh squash, using what I had on hand, which was 9 medium ones...


with a single packet of Lipton Recipe Secrets Onion Soup & Dip mix, salt and pepper, and 1/2 cup of water.  Normally, I would have diced up a medium onion and used it instead of the mix, but... I didn't have one.  I need to go grocery shopping, but... I'm not in the mood.  I stirred it all up, covered it, then let it cook on medium heat until the squash was tender.


I then took two cups of browned Jimmy Dean breakfast sausage and mixed it with...


a can of drained Ro-tel Fire Roasted diced tomatoes.  I was so thrilled when I first discovered the fire roasted variety, I love fire roasted everything!!!  I'll never use regular Ro-tel tomatoes again!!


After the squash was cooked to my liking, I drained it well in a colander and then gently pressed the top with some folded paper towels to absorb a bit more of the moisture.  Don't want a soggy casserole...… :)  


Here we go, now it's looking better all the time.  I add the meat mixture to the squash, right back into the pan I cooked the squash in, and this is off the burner, no cooking with any of these additions.


Time to add more stuff!!


I'm going strictly with whatever I have on hand here, so this is one packet of Velveeta cheese sauce and a handful of grated Mexican Blend cheese. Into the pan it goes!  I stirred it up and then here's one of those lower carb options I mentioned earlier.  I cut up a 4 carb Mission Carb Balance tortilla into very small pieces and mixed it in, to help absorb some of the moisture and give the casserole body without losing the flavor in all those moist ingredients.  What I WOULD have done were it not for the carb avoidance issue, is crushed about 8 Ritz crackers, or even better, a big handful of Cheese-its, and stirred that in.  That's my go-to mix-in for many things!


Almost ready for the oven... topped with more cheese. Of course. 
I sprayed that baking dish with butter flavored non-stick cooking spray before loading it up with my soon-to-be dinner.


Carb avoiding tactic # 2:  I diced up another one of those low carb tortillas and mixed it with a little olive oil, salt and pepper, and smoky sweet paprika, just to add a wee bit of color and set that aside.  I baked the casserole at 350 degrees, center rack, with just the cheese on top for 20 minutes, then removed it from the oven, sprinkled the flavored tortilla bits over the top, and returned it to the oven for another 8 or so minutes. What I WOULD have done instead is spread a canister (yes, the whole thing!) of  French's Fried Onions all over the top.  They brown quickly, it only takes a few minutes for them to crisp up and brown a little, so watch closely if you choose to use them instead of the tortilla bits.  And it's also much prettier when it comes out of the oven... and tastier... and carb-ier.  


But I'm plenty happy and actually only miss those darn fried onions just a little. This was still a tasty, satisfying meal.  I served it up with a good mixed salad. 
I did have some fully cooked smoked sausage on hand, which I was originally planning to slice into coins, brown, and then use instead of the Jimmy Dean, but I talked myself out of it. Maybe next time I'll try that, or some other kind of meat. Or no meat. IDK!!!
As it is here, this dish, considered 4 servings at my place, has 15.5 net carbs per serving.