Saturday, January 11, 2020

Hearty Squash & Sausage Casserole


If you love yellow squash, you may want to try this!  I came up with this concoction during one of my "raid the fridge and pantry for some kind of miracle dinner solution" moments.  There's been a time or two, not many, that the aforementioned moments resulted in not-so-great results, but this one's a keeper for me.  I really like it.  I chose to go with lower carb options when it came to a few things, and I'll point those out and offer up what I would have done instead, which, I admit, would taste EVEN better....


I started out by cooking fresh squash, using what I had on hand, which was 9 medium ones...


with a single packet of Lipton Recipe Secrets Onion Soup & Dip mix, salt and pepper, and 1/2 cup of water.  Normally, I would have diced up a medium onion and used it instead of the mix, but... I didn't have one.  I need to go grocery shopping, but... I'm not in the mood.  I stirred it all up, covered it, then let it cook on medium heat until the squash was tender.


I then took two cups of browned Jimmy Dean breakfast sausage and mixed it with...


a can of drained Ro-tel Fire Roasted diced tomatoes.  I was so thrilled when I first discovered the fire roasted variety, I love fire roasted everything!!!  I'll never use regular Ro-tel tomatoes again!!


After the squash was cooked to my liking, I drained it well in a colander and then gently pressed the top with some folded paper towels to absorb a bit more of the moisture.  Don't want a soggy casserole...… :)  


Here we go, now it's looking better all the time.  I add the meat mixture to the squash, right back into the pan I cooked the squash in, and this is off the burner, no cooking with any of these additions.


Time to add more stuff!!


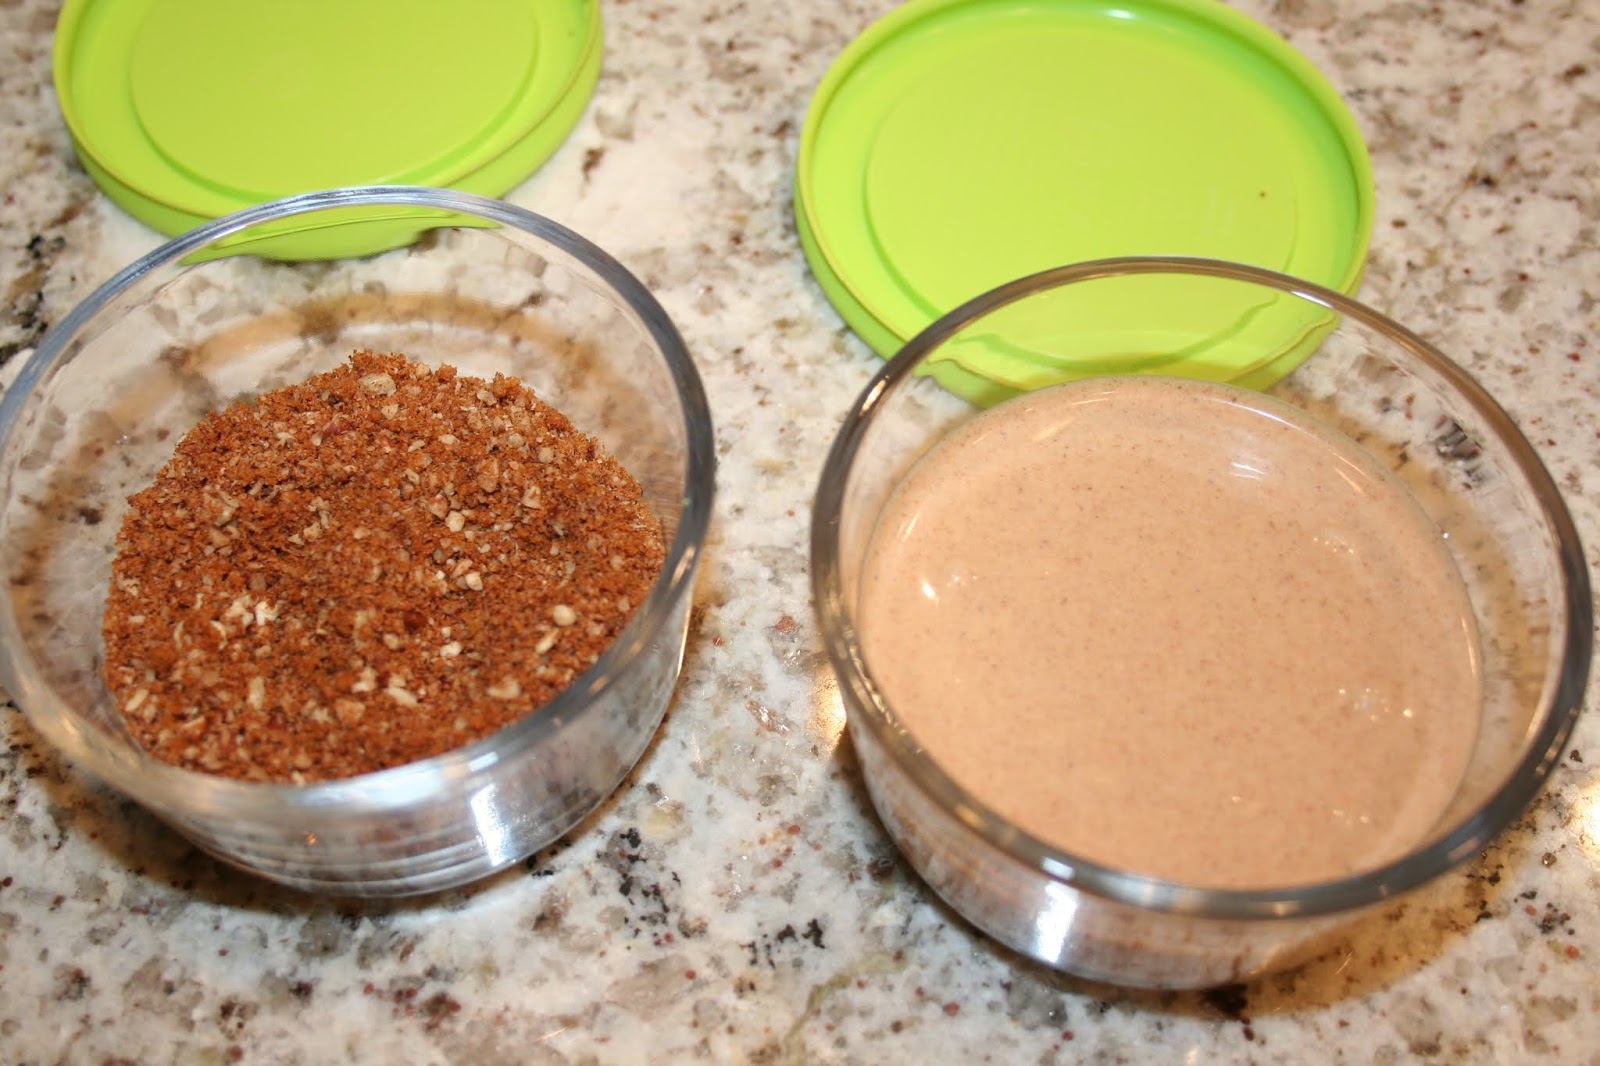
I'm going strictly with whatever I have on hand here, so this is one packet of Velveeta cheese sauce and a handful of grated Mexican Blend cheese. Into the pan it goes!  I stirred it up and then here's one of those lower carb options I mentioned earlier.  I cut up a 4 carb Mission Carb Balance tortilla into very small pieces and mixed it in, to help absorb some of the moisture and give the casserole body without losing the flavor in all those moist ingredients.  What I WOULD have done were it not for the carb avoidance issue, is crushed about 8 Ritz crackers, or even better, a big handful of Cheese-its, and stirred that in.  That's my go-to mix-in for many things!


Almost ready for the oven... topped with more cheese. Of course. 
I sprayed that baking dish with butter flavored non-stick cooking spray before loading it up with my soon-to-be dinner.


Carb avoiding tactic # 2:  I diced up another one of those low carb tortillas and mixed it with a little olive oil, salt and pepper, and smoky sweet paprika, just to add a wee bit of color and set that aside.  I baked the casserole at 350 degrees, center rack, with just the cheese on top for 20 minutes, then removed it from the oven, sprinkled the flavored tortilla bits over the top, and returned it to the oven for another 8 or so minutes. What I WOULD have done instead is spread a canister (yes, the whole thing!) of  French's Fried Onions all over the top.  They brown quickly, it only takes a few minutes for them to crisp up and brown a little, so watch closely if you choose to use them instead of the tortilla bits.  And it's also much prettier when it comes out of the oven... and tastier... and carb-ier.  


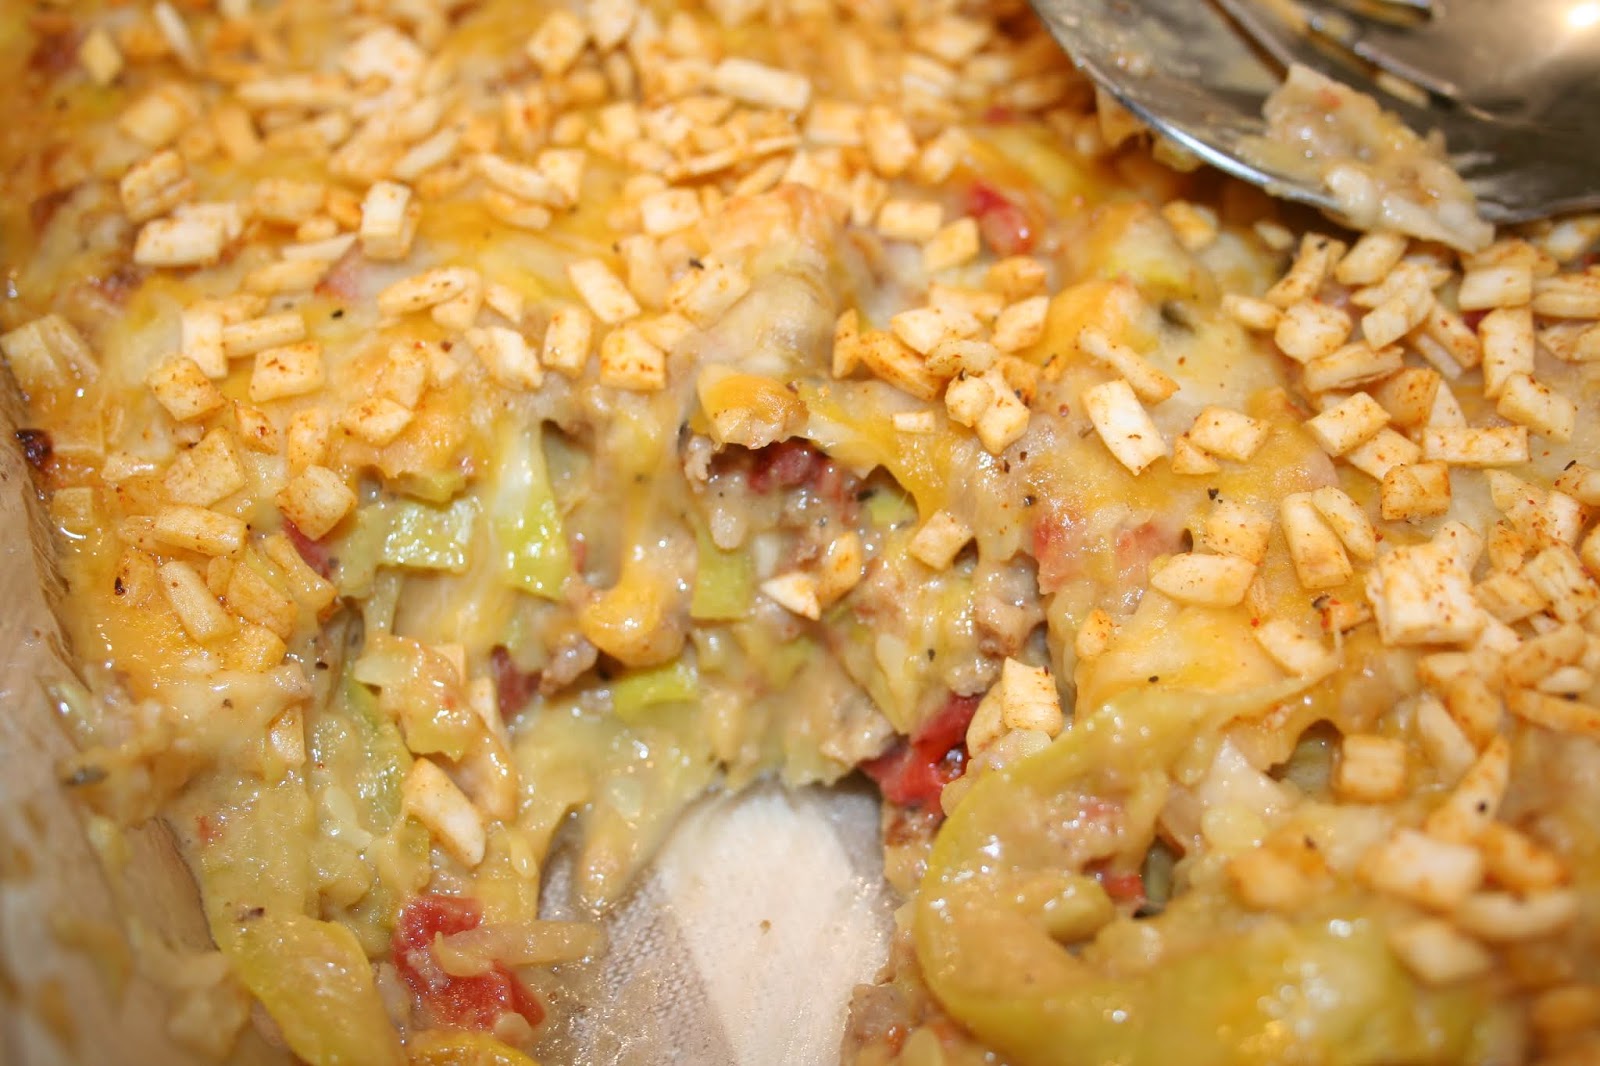
But I'm plenty happy and actually only miss those darn fried onions just a little. This was still a tasty, satisfying meal.  I served it up with a good mixed salad. 
I did have some fully cooked smoked sausage on hand, which I was originally planning to slice into coins, brown, and then use instead of the Jimmy Dean, but I talked myself out of it. Maybe next time I'll try that, or some other kind of meat. Or no meat. IDK!!!
As it is here, this dish, considered 4 servings at my place, has 15.5 net carbs per serving.

Carb Friendly Cheesecake


I watched a cooking segment on the Today show during which Valerie Bertinelli showed how to make her Sugar Free Cheesecake.

It looked amazing and delicious, but I've had bad experiences with recipes using sugar replacements, so I have adapted her recipe into my version, which is not sugar free, but is very carb friendly. I did this because I was concerned about the aftertaste of the sugar replacement, Swerve. My goal was to add just a few additional ingredients in small amounts to help offset that aftertaste a bit. I've never used Swerve before, and as I tasted it right out of the package as I was using it, I immediately realized it was much better than any other brand I have used before in baking.  
Here's how I did it, and the entire list of ingredients and directions are listed below the images.


The crust, pressed into the pan and ready for the oven.


The filling, ready to pour into the crust.

The cheesecake, baking in a water bath.


Cooling, out of the bath and unwrapped.

Optional toppings.


My little trick to get the glaze drizzled on in nice straight lines.

It's creamy, with a subtle flavor and cuts nicely! The crust is not overly sweet. True, it can't compare to all my fancy cheesecakes that I love to bake, but overall, I'm pleased with it and think it's a great option for enjoying cheesecake without consuming way too many carbs! I didn't find myself complaining about any undesired aftertastes at all!!

Side view, showing how the crust looks!


Spoon City Kitchen Carb Friendly Cheesecake

(Adapted from Valerie Bertinelli’s Sugar Free Cheesecake recipe)


Ingredients:
Crust:
1 ¼ cups almond flour
½ cup pecans
¼ cup Swerve powdered sugar replacement sweetener (not granulated)
6 tablespoons butter (NOT unsalted), melted
½ teaspoon ground cinnamon
2 Biscoff cookies

Filling:
5 (eight oz.) bricks room temperature cream cheese
2 cups Swerve powdered sugar replacement sweetener
1 ½ tablespoons ground cinnamon
1 teaspoon lemon juice
2 teaspoons vanilla extract
4 tablespoons apple butter
1/3 cup sour cream
3 large eggs


Optional Toppings:

Glaze:
Combine ¾ cup Swerve powdered sugar replacement sweetener, ½ teaspoon ground cinnamon, ½ teaspoon vanilla, 1 tablespoon apple butter, and 2 tablespoons whipping cream (not heavy) into a bowl and vigorously stir or whisk until smooth.  Gradually add small amounts of water at a time with a teaspoon and whisk until you get it to the consistency you desire.  Ideally, it should drizzle off the tip of a spoon easily without the thread breaking.   Drizzle in a criss-cross fashion over the surface of the cooled cheesecake.

Crumb Topping:
Combine a heaping handful of pecan halves, ¼ teaspoon ground cinnamon and 1 Biscoff cookie in food processor and process to a medium fine crumb.  Sprinkle around the top of the glazed cheesecake in a circle around the edge. 
Directions:

Crust:
Preheat oven to 350 degrees.
Prepare a 9 inch springform pan by spraying generously with butter flavored non-stick spray, set aside.
Add the pecans and cookies to a food processor and process to a fine crumb.  Add almond flour, cinnamon, and Swerve sweetener and process again until well combined.
Pour into a medium bowl and add melted butter. 
Mix vigorously with a fork until it becomes well moistened and begins to clump together.  Make sure to scrape across the bottom and see to it that all dry ingredients are moistened before pouring mixture into the center of the prepared springform pan.
Press mixture from the center outward to the edge as evenly as possible by hand, then use a flat-bottomed ¼ cup measuring cup and press from the center out evenly to smooth and as you do so, press up the edge of the pan about 1 ½ inches.
Bake 10 minutes.
Remove from oven and allow to cool completely.  You can let it cool at room temperature for about 20 minutes and then place it in the freezer to finish cooling.
Reduce oven temperature to 325 degrees.
Set cooled crust aside.  It’s ready for the filling.

Filling:
Combine all ingredients except eggs into the bowl of a stand mixer.  Hand mix together with a spoon, then mix on medium speed until smooth, stopping the mixer several times to scrape down the bottom and sides of the bowl. 
Add the eggs one at a time, beating to incorporate after each addition. 
Remove mixing bowl from mixer base and scrape sides and bottom of bowl, then give the filling a stir with the spoon for a minute.

Place filling into cooled crust and gently spread surface smooth and even.  Leaving the pan on the surface of countertop, gently spin back and fourth side to side to bring air bubbles to the surface.  Pop air bubbles with a toothpick.

To use a water bath method that does not leak into pan and ruin crust, place a crock pot liner on countertop, spread open.  Put springform pan in center and pull liner up to just beneath the turned down upper edge of the pan.  Pull excess to one side and twist to tighter, secure with a twisty tie.  Then sit lined pan in center of aluminum foil sheet and turn up all the way around, to the top edge of the pan.  Use the heavy duty size foil, as it is wide enough to use only one sheet, thereby preventing leaks.

Bake for about 45 minutes to an hour (all ovens vary), until slightly jiggly in the center and lightly browned on the top.  Turn oven off and wait 12 minutes, then crack oven door open and allow to cool in oven an additional 20 minutes.  Remove pan from water bath, remove foil and liner and place on wire rack to cool to room temperature.  Loosely cover the cheesecake, not allowing anything to touch the surface, and refrigerate for at least 4 hours or overnight. 

If using optional toppings, once cheesecake is cooled completely to room temperature, before placing in refrigerator, prepare toppings and apply.  Then refrigerate the minimum 4 hours before serving.

Carb Count:

Entire cheesecake, no toppings:  68 net carbs, which equals 8.5 carbs per serving if cut into 8 servings, and 6.8 if cut into 10 servings.
Entire cheesecake, with toppings:  88 net carbs, which equals 11 carbs per serving if cut into 8 servings, and 8.8 if cut into 10 servings.